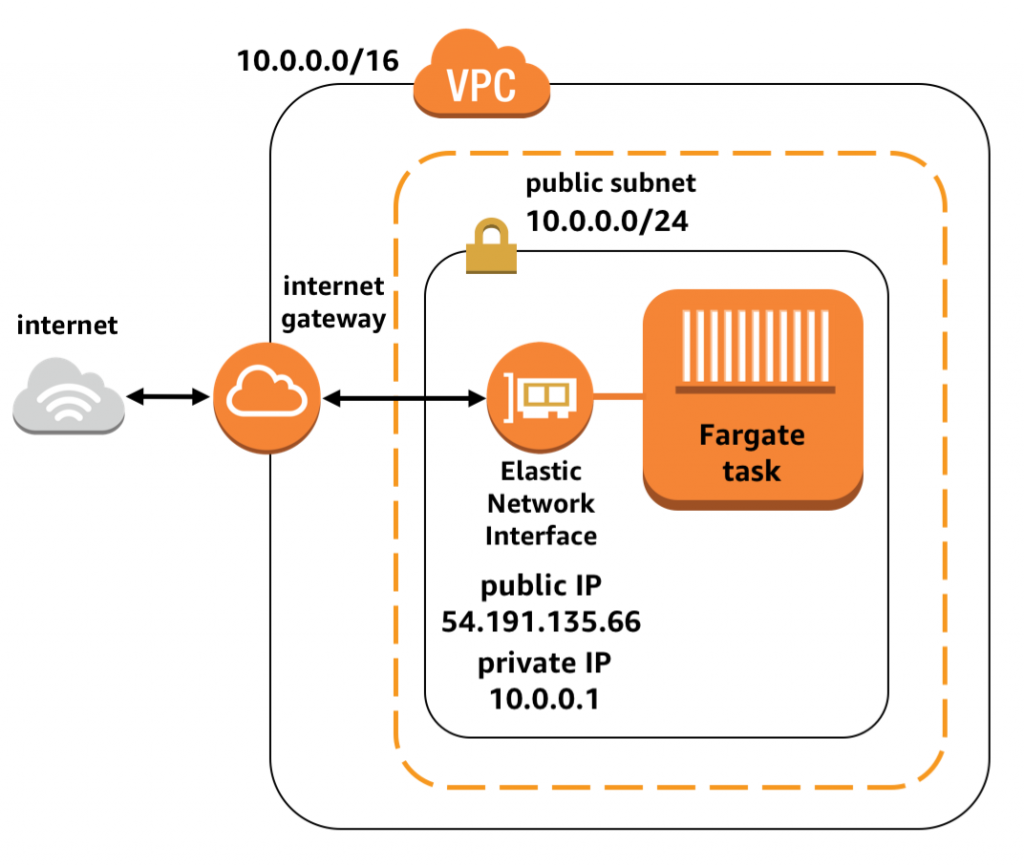
Guide for setting up FARGATE services with the AWS CLI
Setting up a new service in an existing FARGATE cluster
In this document we’ll describe how to set up a new FARGATE service from the aws-cli.
Note: because this is an advanced subject which may require some troubleshooting and additional steps not listed here, it might be more useful as a guide
Requirements
For setting up the new FARGATE service with the AWS cli, we need some things already in place and configured
- An AWS IAM with the required permissions
- The aws-cli installed and configured
- A FARGATE cluster already deployed and configured
- A load balancer already configured
- A domain/route 53 configuration
- A project with a docker image and a Task Definition to deploy
Create a load balancer target group to route requests
$ aws create-target-group --name ${service-name} \ # i.e. newservice
                          --protocol HTTP \
                          --port ${PORT} \ # i.e. the port of the container
                          --vpc-id ${vpc-id} # The VPC you're using, i.e. vpc-821cc9ww
                          --health-check-protocol HTTP # This should be OK in most cases
                          --health-check-port ${PORT} # same as the container in most cases
                          --health-check-enabled # Enable health checks
                          --target-type ip # For FARGATE
Note the resulting target group ARN returned from the CLI for passing when creating the service and the load balancer routing rule
Register the target group in the load balancer with a new rule
$ aws create-rule --listener-arn ${listener-arn} # the load balancer ARN
                  --conditions conditions.json # see the file contents
                  --priority 12 # Can't have more than 1 service with the same value
                  --actions Type=forward,TargetGroupArn=${targetGroupARN} # Forward to your target group created above
File conditions.json
[
  {
    "Field": "host-header",
    "HostHeaderConfig": {
      "Values": ["newservice.example.com"]
    }
  }
]
Register the Task Definition
$ aws ecs register-task-definition --cli-input-json file://task-definition.json
Note the Task Definition ARN for passing when creating the service
Create the service
$ aws create-service --cluster ${cluster-name} \
                     --service ${service-name} \
                     --task-definition ${task-definition} \ # This is the family:revision, i.e. service-name:LATEST
                     --load-balancers ${targetGroupArn=string,loadBalancerName=string,containerName=string,containerPort integer} \
                     --desired-count ${desired-count} \ # I.e. 1 for 1 instance
                     --launch-type FARGATE
                     --network-configuration "awsvpcConfiguration={subnets=[subnet-12344321],securityGroups=[sg-12344321],assignPublicIp=ENABLED}"
Now, you can head to the Route 53 in the AWS console and register the service in the load balancer, then check the requests.