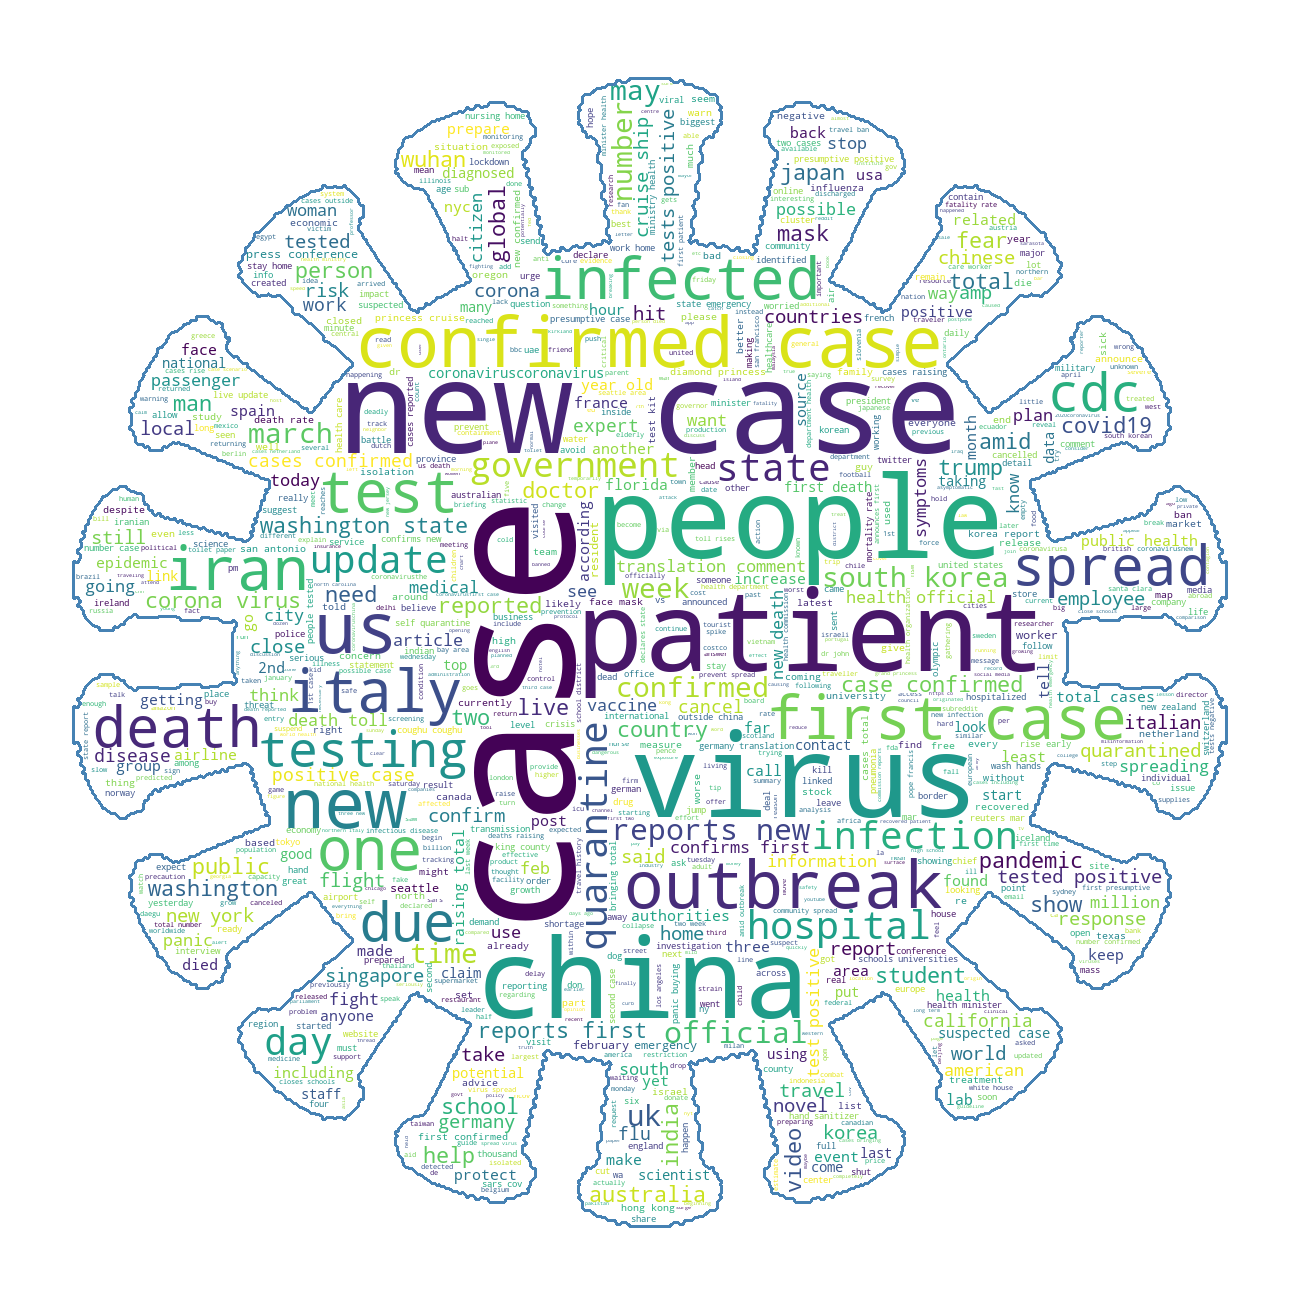
Creating a word cloud with coronavirus news titles
Creating a word cloud with data from MongoDB in a Jupyter Notebook
Word clouds can be an interesting way to display data, but they look better with a shape, so in this example we’re going to show how to make a word cloud with the shape coming form from a PNG image
Requirements
Most importantly, you’ll need a dataset with the news titles, if you want you can ask me and I’ll provide it, send us an email.
Python packages
- pymongo
- numpy
- PIL, the python image library
- matplotlib
- wordcloud
We’ll also need a PNG image in black and white with the shape we want to display, note that the image mode should be in grey scale to avoid the wrong pixel values in the numpy arrays
The image should look like this (scaled to 700x700)

Implementation
Launch jupyter notebook from your project’s folder and create a new notebook
First, add the imports
import pymongo
import numpy as np
from os import path
import os
from PIL import Image
import matplotlib.pyplot as plt
from wordcloud import WordCloud, STOPWORDS
That’s what we’ll need to work with the Word Cloud
Then, we’ll need to load the image and build a mask for for the word cloud
d = path.dirname(__file__) if "__file__" in locals() else os.getcwd()
cmask = np.array(Image.open(path.join(d, "corona1.png")))
Now we’ll set the STOPWORDS, words we don’t want to show
stopwords = set(STOPWORDS)
stopwords.add("coronavirus")
stopwords.add("will")
stopwords.add("say")
stopwords.add("says")
stopwords.add("now")
stopwords.add("covid")
As you can see, I added some words that I didn’t want to display because they’re not very relevant
Now we’ll define the class that we’ll use for this task
class TextUtil:
    """Class for working with text stored in MongoDB"""

    def __init__(self, load_amount):
        """Initialize the class with the amount of posts we want to load,
           the amount of text and the MongoDB connection"""
        self.load_amount = load_amount
        self.text = ""
        self.client = pymongo.MongoClient(
            "mongodb://ADDRESS:27017/admin",
            username='USER',
            password='PASSWORD'
        )
Note: You need to edit the connection parameters to be able to connect to the MongoDB database
The constructor has one parameter which is the load_amount, we’ll use that for setting the amount of posts we want to load from the database.
We also set a new field for this class which is the text, for storing the loaded text from the database, and the pymongo client connection
Now we need to add some class methods to work with the data, starting with get_posts
def get_posts(self):
    """Set the posts from the database"""
    db = self.client["chat"]
    posts = db["posts"].find({}, {"title": 1}).sort(
        "timestamp", pymongo.ASCENDING).limit(self.load_amount)
    for p in posts:
        self.text += " ".join(p["title"].split(" ")).lower()
    print("Loaded posts") # To show the progress
That method will get the posts from the MongoDB database and set them on the text class field for processing by the word cloud
We’re going to need a final method to process the data and draw the image
def draw_image(self, filename):
    """Draws an image with the text"""
    print("Drawing image")
    wc = WordCloud(
        stopwords=stopwords,
        background_color="white",
        max_words=1000,
        mask=cmask,
        contour_width=3,
        contour_color='steelblue')
    wc.generate(self.text)
    wc.to_file(filename)
    plt.imshow(wc, interpolation='bilinear')
    plt.axis("off")
    plt.figure()
    plt.imshow(cmask, cmap=plt.cm.gray, interpolation='bilinear')
    plt.axis("off")
    plt.show()
Finally we can create a new instance of our class with the desired amount of posts we want from the database
t_handler = TextUtil(10000) # Amount of posts
And use it for getting the posts and drawing the image
t_handler.get_posts()
t_handler.draw_image("coronares.png")
Now, in the same directory, we should have a new file coronares.png which should be our desired image
You can find the code of the whole notebook here